Metal three-dimensional (3D) printing has experienced rapid growth in recent years. In particular, laser powder bed fusion (LPBF), used to form complicated and delicate structures, continually establishes novel applications.

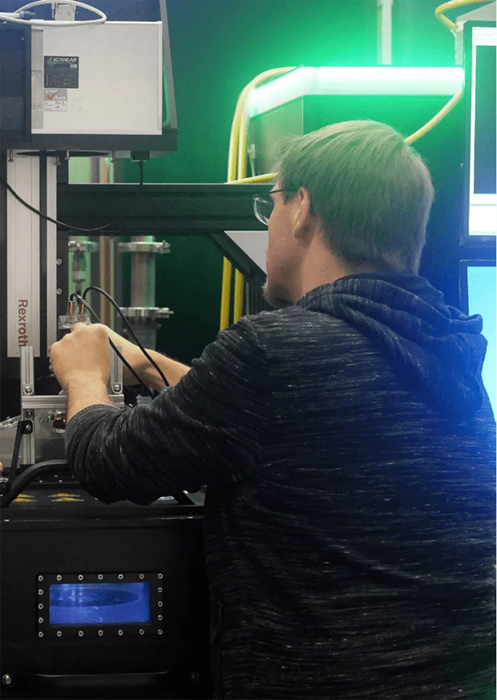
Andreas Vogelpoth from ILT. Image Credit: Fraunhofer Institute for Laser Technology ILT
In recent years, metal 3D printing has seen a significant surge, especially in laser powder bed fusion. This technology allows for the creation of intricate and delicate structures, continually leading to new applications. The success of this process, however, is largely dependent on maintaining precise temperatures. To prove this, scientists at Fraunhofer ILT have utilized an optris PI 640 infrared camera to measure the accuracy of their temperature measurements.
LPBF has been amongst the most promising procedures for the additive manufacturing of metals for over 25 years. Established and patented by the Fraunhofer Institute for Laser Technology (ILT) in 1996, the process is perfect for manufacturing components with complicated geometries. The high-precision process enables the production of parts that cannot be accomplished with subtractive methods.
Building Components Layer by Layer
Powder is the base material in LPBF. This powder is applied to a build plate in a thin layer. A laser beam subsequently melts the areas of powder that will constitute the component. A firm layer of material is formed after it hardens.
In the following step, the build plate is lowered, and an additional layer of powder is added. The procedure is repeated layer by layer to produce a 3D component. The excess powder is then removed.
The layers are between 10 and 100 micrometers thick (depending on the use case and the material utilized). The components constructed with LPBF are defined by a high specific density of up to 100 %. Thus, the component’s mechanical properties are identical to a part manufactured in a subtractive process.
The enormous flexibility achievable with LPBF means that production is relatively slow. Thus, the process is utilized to produce prototypes or small batches primarily.
The Fraunhofer ILT is constantly working to improve the process. For instance, feasibility studies are being conducted with cooperation partners. As well as producing continually complicated geometries, the scientists are additionally investigating the possibility of utilizing alternate materials.
Our current projects are examining using metals with a high melting point, such as tungsten or molybdenum, for example.
Tim Lantzsch, Head of Laser Powder Bed Fusion Department, Fraunhofer ILT
Unfortunately, because of their high melting points, which can be more than 3000 °C, these metals are challenging to work with a high degree of process reliability. To conduct these research projects and similar studies, the Fraunhofer ILT operates numerous lab-based LPBF systems.
Temperature: A Crucial Measurement Variable
Temperatures have an essential role throughout the whole LPBF procedure. The laser beam can warm the material very quickly – increases of up to 1 million kelvin per second are possible. The material cools rapidly immediately afterward. This generates a risk of creating stresses, phase changes, shrinkage, or other physical effects that impair quality.
“Cracks or plastic deformations can ultimately lead to rejects,” says Tim Lantzsch, summarizing standard problems.
Numerous methods of avoiding defective components have been established at the Fraunhofer ILT.
“For example, we warm the build plate to minimize stresses resulting from excessive temperature gradients,” explains Andreas Vogelpoth, who works in the department in the Process & Systems Engineering Group.
The amount of heat applied to the build plate depends on the material utilized, as well as additional factors.
However, the parameters that affect the temperature of the component fluctuate during the process: “The distance from the heated build plate increases with each layer, the powder bed is a poor thermal conductor, radiation plays a role, and the laser naturally adds heat as well,” says Andreas Vogelpoth. As a result, the heating must be adjusted throughout the process.
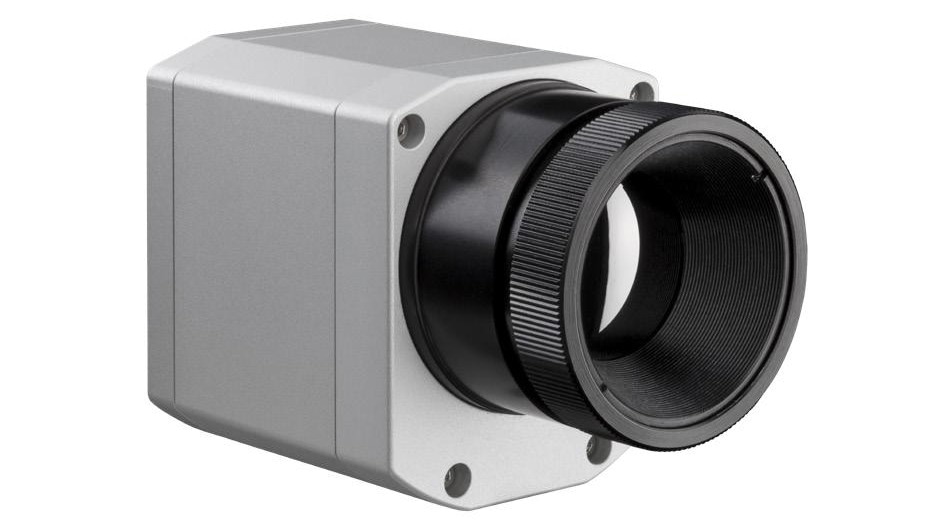
To optimize the process, accurate temperature monitoring is needed. This is achievable with the Optris PI 640i infrared camera. The thermal imager can measure temperatures of up to 1500 °C.
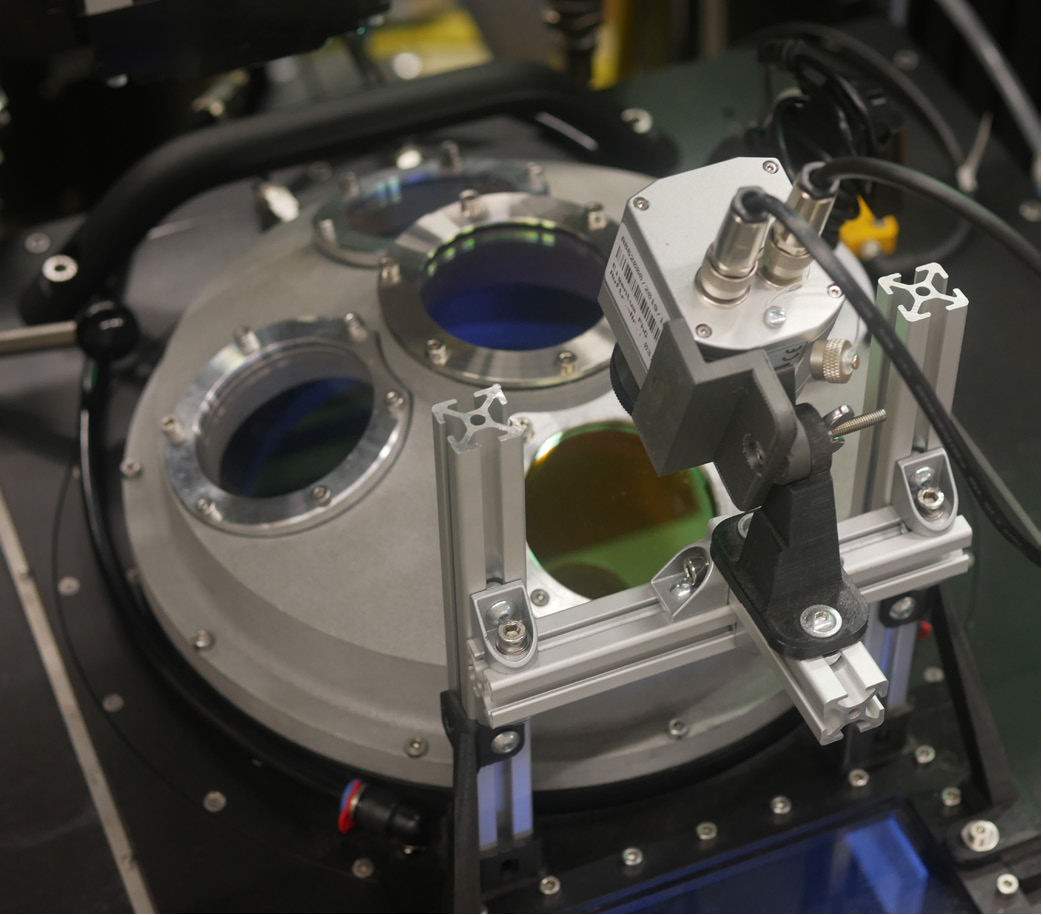
The camera is attached outside the build chamber, which has a zinc selenide window integrated into it for this reason. The infrared camera is extremely compact and thus easy to mount above the window. With a resolution of 640 × 480 pixels, the camera can resolve small component structures.

Optris PI 640i. Image Credit: Optris GmbH
Advantages
- 640 × 480 pixels
- Outstanding thermal sensitivity of 40 mK
- Radiometric video recordings at 32 Hz, 125 Hz in subframe mode
- Interchangeable lenses: 15°, 33°, 60° and 90°
- License-free analysis software and complete SDK included
Specifications
- Temperature ranges:
- −20 to 100 °C
- 0 to 250 °C
- 150 to 900 °C
- Optional: 200 to 1500 °C
- Spectral range: 8 to 14 μm
- Ambient temperature: 0 to 50 °C
- System accuracy: ±2°C or ±2%, whichever value is greater
The Fraunhofer ILT uses the Optris PI 640i infrared camera to further develop laser powder bed fusion as a 3D printing process. The precise measurement possibilities offered by the Optris camera enable temperatures during the production process to be studied with exceptional accuracy.

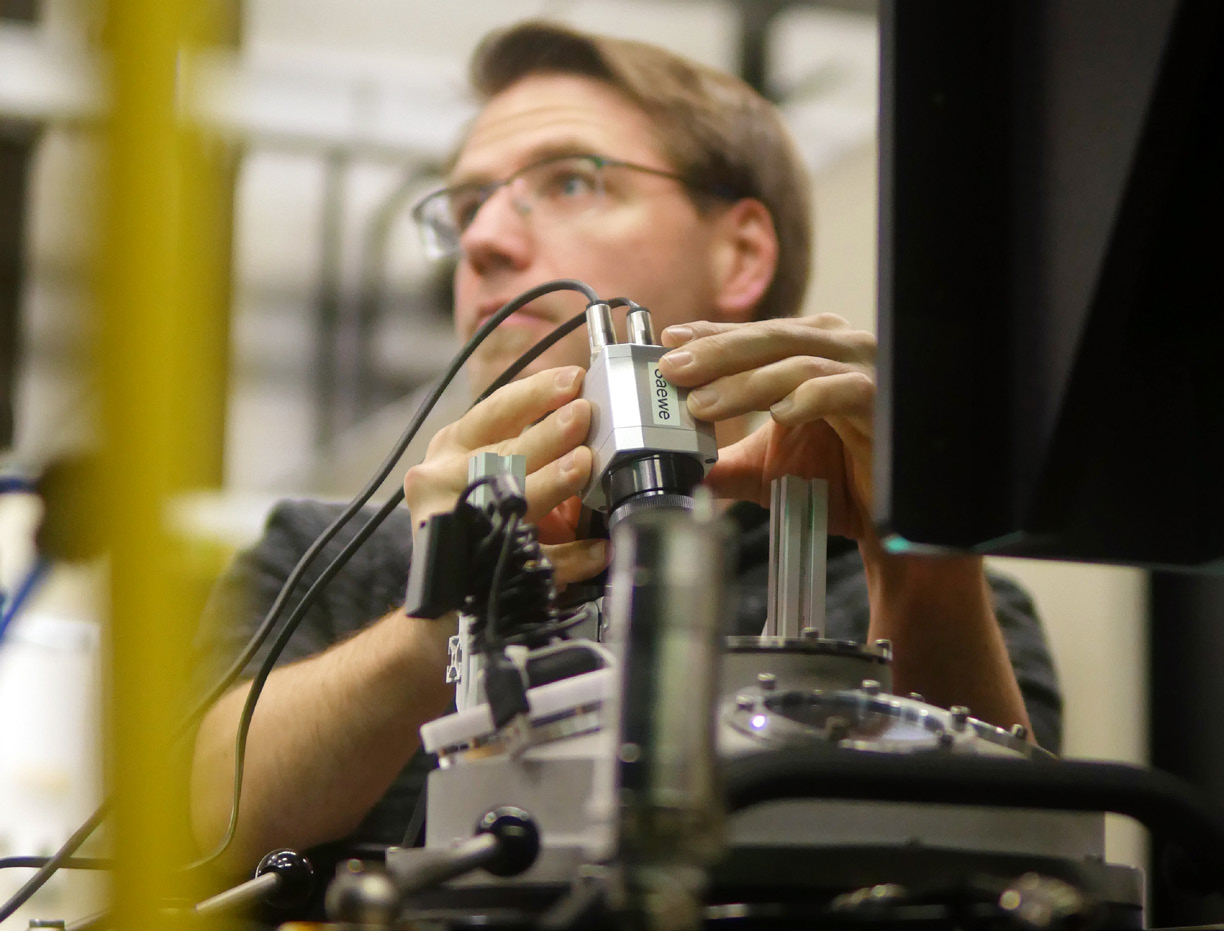
Alignment of the IR camera for optimum process monitoring. Thermographic images can be easily analyzed in the software. Image Credit: Fraunhofer Institute for Laser Technology ILT
The LPBF system’s control triggers the camera after a layer has been completed. Image Credit: Fraunhofer Institute for Laser Technology ILT
Emissivity Changes
The emissivity of surfaces is a challenge for temperature measurement. “The emissivity of powders and solids of the same metal are different, for instance,” says Andreas Vogelpoth: “And the emissivity also depends on the surface properties.”
Emissivity was thus calculated in numerous experiments in which the temperature of the powder or solid was determined simultaneously using the infrared camera and thermocouples.
In these investigations (which are conducted during a component build), the infrared camera evaluates the temperature of the component once the melt pool has hardened. The system’s control activates the infrared camera through a digital interface. This can occur soon after the laser has been switched off and before the application of the next layer of powder. This enables numerous effects to be investigated.
Variables like the cooling behavior post-remelting or the conduction of heat through the powder bed are determined by standard measurements. Thus, the heating of the component can be adjusted to bypass defects.

A zinc selenide window gives the infrared camera a view of the process. Image Credit: Fraunhofer Institute for Laser Technology ILT
Simplifying the Evaluation of Thermographic Images
The PI 640i infrared camera is linked through a USB port to a PC, which has the PIX Connect analysis software installed. Optris supplies the software along with the infrared camera. The software evaluates the thermographic images in real time and has extensive recording and evaluation capabilities.
Recordings can also be stored. “Storing the images in an open format is very important for us,” says Andreas Vogelpoth, highlighting one advantage of the system.
A very convenient analysis of the thermographic images in PIX Connect is an additional key point for him. The PI 640i has been utilized at the Fraunhofer ILT for approximately five years. Before that, pyrometers were frequently the only temperature measurement technology utilized – but they can only measure temperatures up to a fixed point.
“All in all, the Optris infrared camera is excellently suited to our purposes,” says Tim Lantzsch: “It’s compact and hence easy to integrate mechanically and simple to operate.”

This information has been sourced, reviewed and adapted from materials provided by Optris GmbH.
For more information on this source, please visit Optris GmbH.