GoPxL is the latest software from LMI Technologies for producing end-to-end, web-based inline measurement and inspection solutions using a Gocator 3D Smart Sensor.
Vision engineers can employ GoPxL to carry out a broad range of industrial inspection tasks, applying a combination of on-sensor measurement filters and tools on Gocator’s industry-leading laser, snapshot, and line confocal smart sensors.
This article discusses the simplicity and efficiency of utilizing GoPxL measurement toolchains to conduct two straightforward inspection tasks: fastener measurement and connector pin inspection.
Fastener Measurement with 2X Gocator 2520 Smart 3D Laser Line Profilers

Image Credit: LMI Technologies Inc.
Inspection Task
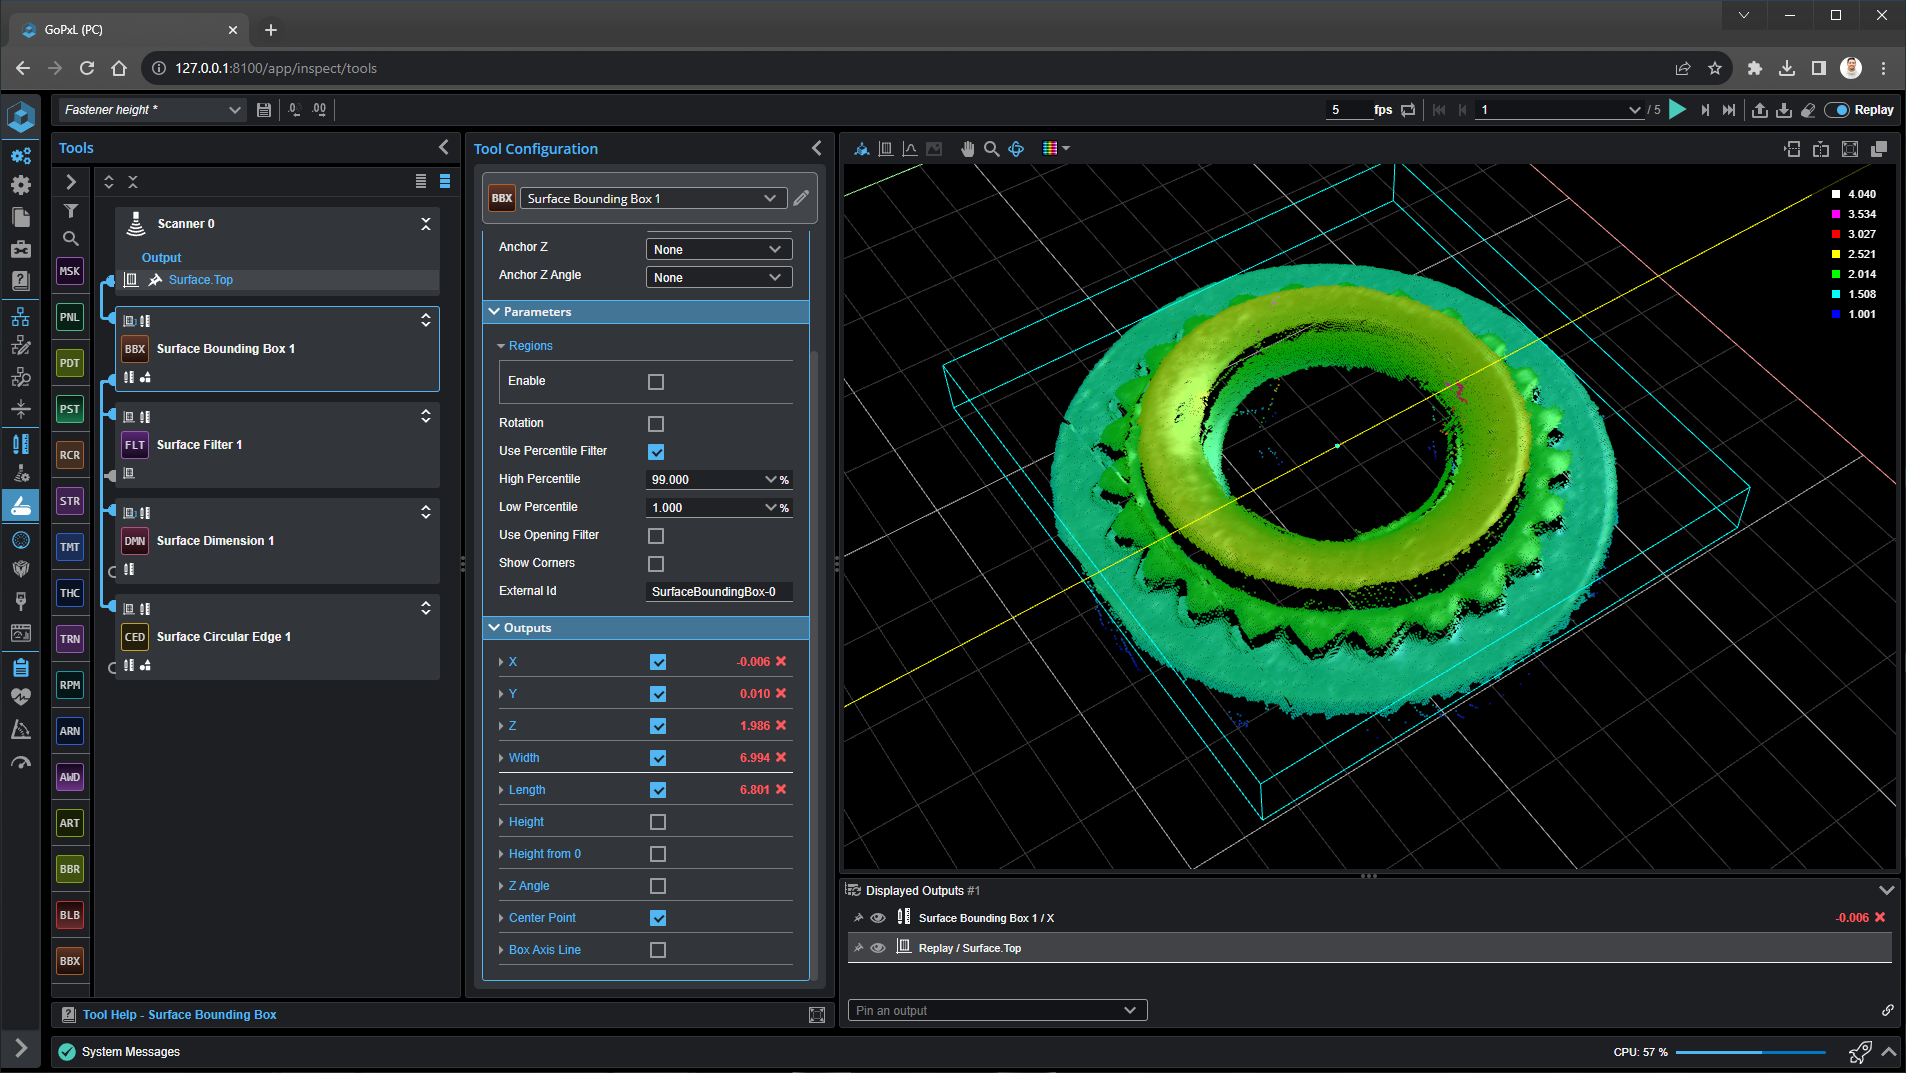
In this example, the height between surfaces and the radius of the notched ring in the fastener was measured. GoPxL’s circular region feature enabled this application to be solved without the need for additional masking tools.
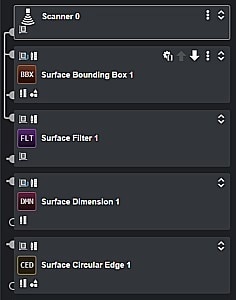
Surface Filter
The Surface Filter tool is used to eliminate reflection noise caused by the shiny fastener. The Percentile filter was configured to remove points both above and below the fastener surface, ensuring a clear and accurate result.

Image Credit: LMI Technologies Inc.
Surface Bounding Box
This tool serves as an anchor for the remaining tools in the toolchain in case the orientation or location of the part changes between scans.
Surface Dimension
This GoPxL tool supports several region types, such as circle regions. This means that masking tools are no longer needed to isolate the top and bottom fastener surfaces.
Surface Circular Edge
This tool enables the measurement of intricate notched features. Using the Surface Circular Edge tool, the ring is sampled at user-configurable intervals. The outcome is the radius of the notched ring feature in the fastener.
Video Credit: LMI Technologies Inc.
Connector Pin Inspection with 1X Gocator 3506 Smart 3D Snapshot Sensor

Image Credit: LMI Technologies Inc.
Inspection Task
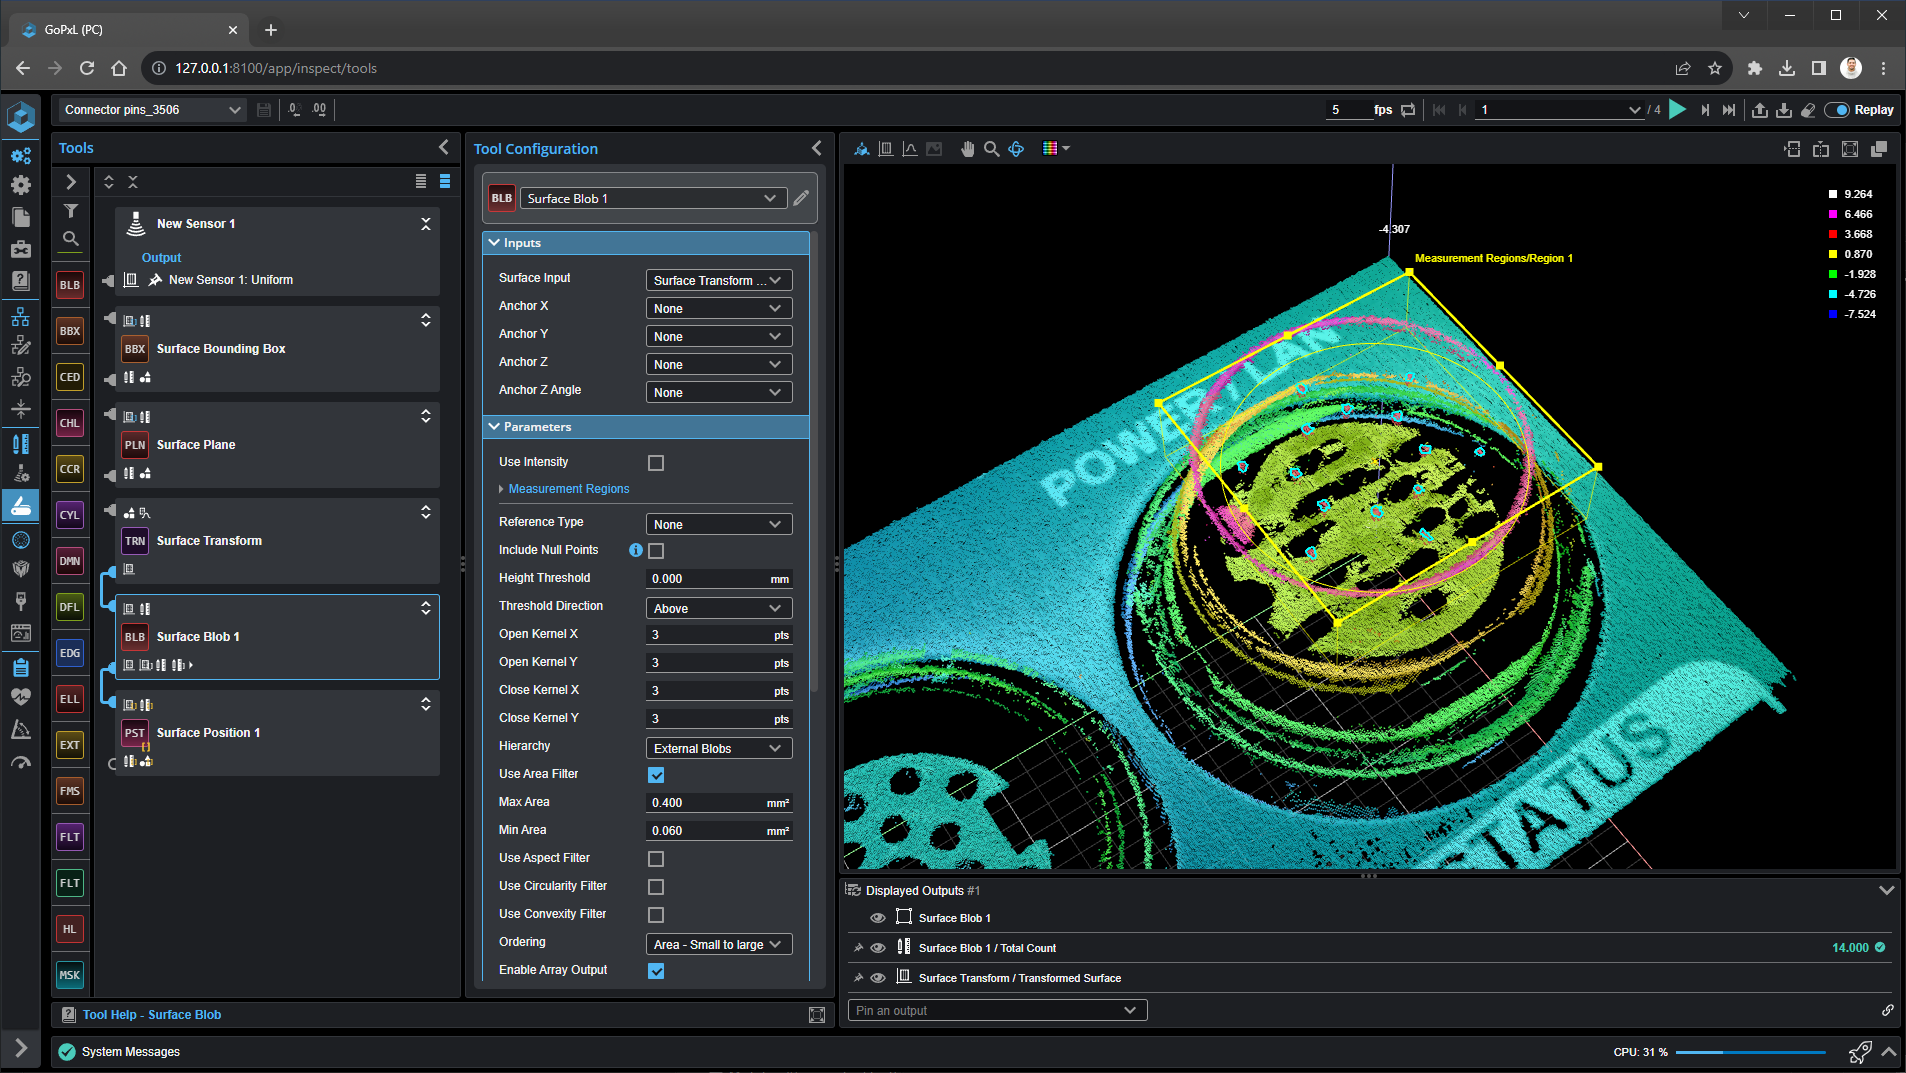
Here, the pins of the POWER/LAN connector on a Gocator were counted and measured. GoPxL supports arrays, reducing the number of tools required for the inspection of all 14 pins.
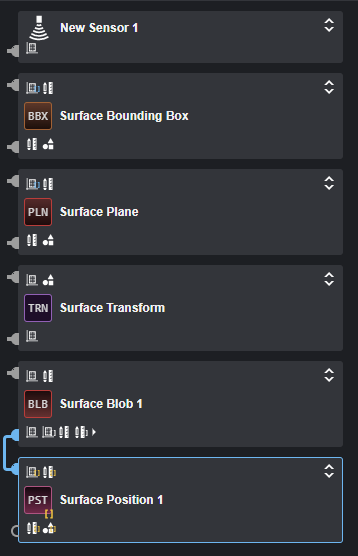
Surface Bounding Box
The Surface Bounding Box tool provided an anchor for the remaining tools in the toolchain if the part’s location or orientation changed from scan to scan.

Image Credit: LMI Technologies Inc.
Surface Plane
GoPxL’s Surface Plane tool can be utilized to define a measurement plane reference for the connector pins.
Surface Transform
The Surface Transform tool produces a new surface of pins based on the coordinate system of the plane and bounding box.
Surface Blob
The Surface Blob tool detects the pin tips and outputs as an array of surfaces.
Surface Position
This tool records the X, Y, and Z positions of each pin. It utilizes batching to operate on an array of surfaces produced by the Surface Blob tool.
Video Credit: LMI Technologies Inc.
Other Sample Measurement Scenarios
Users are encouraged to look into some of the other sample measurement scenarios available within the latest GoPxL Sample Recordings. No sensor is needed.
In addition to accessing additional Fastener Measurement and Connector Pin Inspection scenarios, users will have the opportunity to test-drive various other measurement scenarios featuring the following targets:
- Chocolate bar
- Tote bag
- Countersunk hole
- EV battery
- Printed circuit board (PCB)
- Engine Cylinder Head

This information has been sourced, reviewed and adapted from materials provided by LMI Technologies Inc.
For more information on this source, please visit LMI Technologies Inc.